Get ready to achieve salon-quality lashes in the comfort of your home with our easy-to-follow application process. Whether you’re a first-timer or an experienced DIY lash enthusiast, this step-by-step guide will simplify everything.
What You’ll Need:
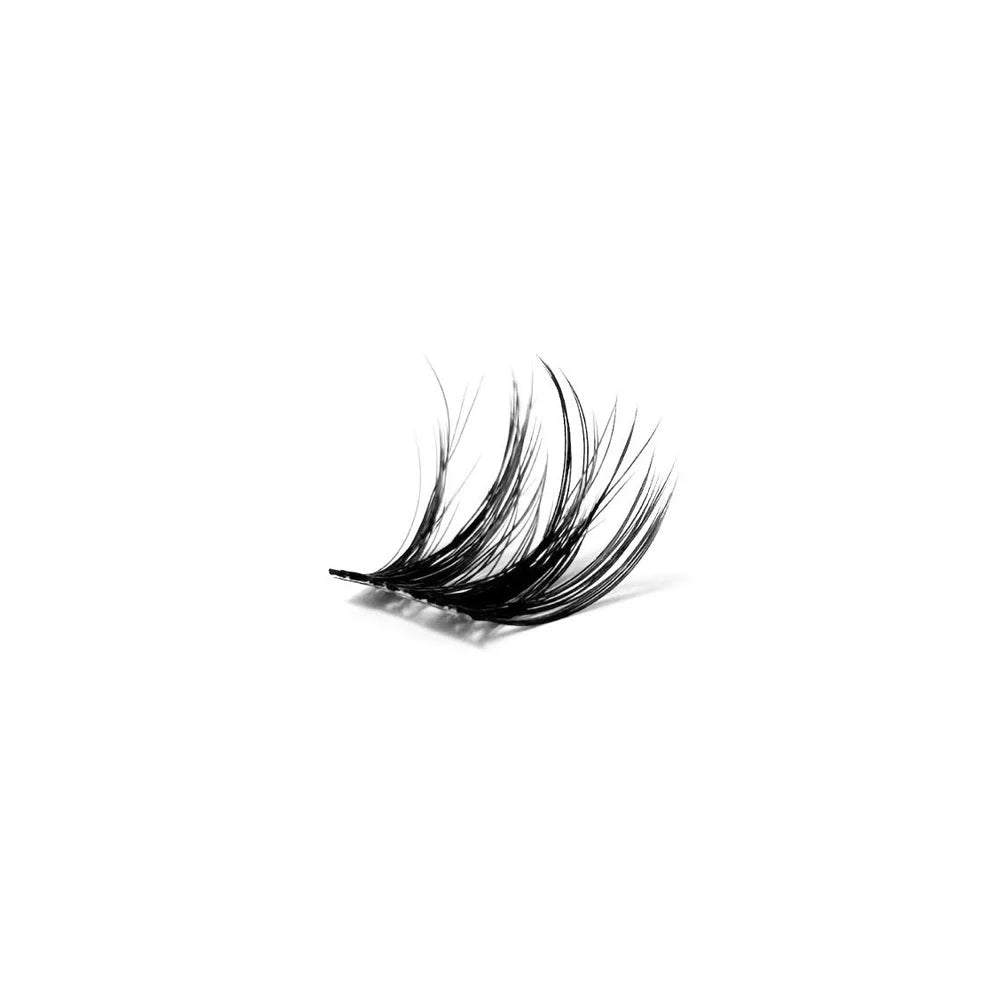
• Your Flash lashes
• Dual-Ended Lash Bond
• Anti-Stick Lash Tweezers
• Gentle Melt Remover (for care and removal)
Step-by-Step Lash Application
1. Prep Your Natural Lashes:
• Start with clean, dry, and oil-free lashes. Remove any makeup or oils with a gentle, oil-free cleanser.
2. Choose Your Lash Style:
• Select the lash segments that suit your desired look, from natural to bold.
3. Apply White or black Bond:
• Use the fine-tip applicator of the white bond to apply a thin line along your natural lash line. Be precise; this is where your lash segments will adhere. Allow bond to set on the lashes for 20 seconds prior to application.
5. Place Your Lash Segments: be sure to ensure the bond is tacky prior to application.
• Starting with the outer corner of your eye, use the Anti-Stick Tweezers to pick up a lash segment and gently place it underneath your natural lashes at the lash line.
• Repeat with additional segments until you achieve your desired look, working your way toward the inner corner.
6. Secure the Lashes:
• Press the lash segments and your natural lashes together with the tweezers to lock them in place. Pro Tip: run tweezers under water prior to clamping. The water helps seal the bond and helps with any stickiness.
7. Final Touches:
• If needed, use the tweezers to adjust the lashes for a seamless, natural look.